Breakfast
 Lunch
Lunch
 Dinner
 Snacks
 Meals
Meals
 Drinks
 Vegan
Vegan


Ingredients 0/19
Why You'll Keep Making This
Smart Cooking Tips
- Blind bake the crust for a few minutes before adding the filling to prevent a soggy bottom.
- Cover the edges with foil if they brown too quickly during baking.
Step 1
Combin the flour, maple syrup, and salt in a food processor. Give it a few quick pulses to mix everything together. Then add the butter and pulse again until the mixture looks like coarse sand. In a small cup, stir together the cold water and vinegar. Pour about half of this into the food processor and pulse a few times. Keep adding the rest little by little, pulsing until the dough just starts to come together. Split the dough in two, wrap each half in plastic wrap, and shape them into discs. Pop them in the fridge for at least an hour to chill.
Step 2
When you’re ready to bake, preheat your oven to 375°F (190°C). Line a baking sheet with foil and set your 9-inch pie pan on top—this will catch any drips. In a big bowl, mix all the berries together. In another small bowl, whisk the maple syrup, cornstarch, lemon juice, vanilla, cinnamon, almond extract, nutmeg, and salt until smooth, then pour it over the berries and toss gently to coat. Set the filling aside for now.
Step 3
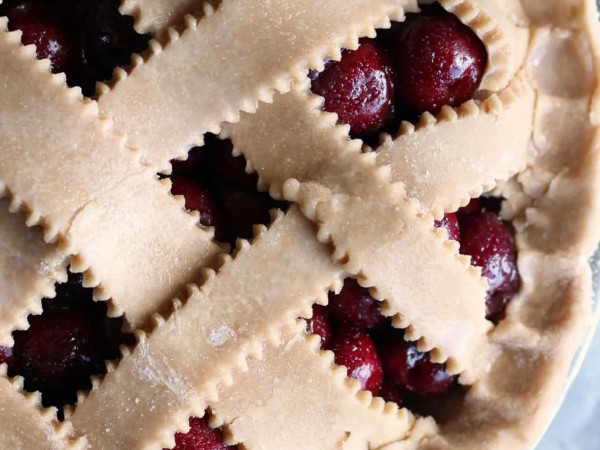
Take one disc of dough out of the fridge and roll it on a lightly floured surface into a 12-inch circle. Fit it into the pie pan, pressing it evenly over the bottom and sides. Roll out the second disc into another 12-inch circle and cut it into 1-inch strips. Pour the berry filling into the crust, then weave the dough strips over the top to make a lattice. Trim any extra dough and pinch the edges to seal everything nicely.
Step 4
In a small bowl, whisk together the egg and water. Brush this egg wash over the crust to give it a beautiful golden color. To keep the edges from getting too dark, cover them with strips of foil.
Step 5
Bake the pie for 35 minutes, then carefully remove the foil and bake for another 30 to 40 minutes, or until the crust is golden and the filling is bubbling. Let the pie cool completely before slicing and serving—it’s worth the wait!
Serving Ideas To Try
Leftover Storage Guide